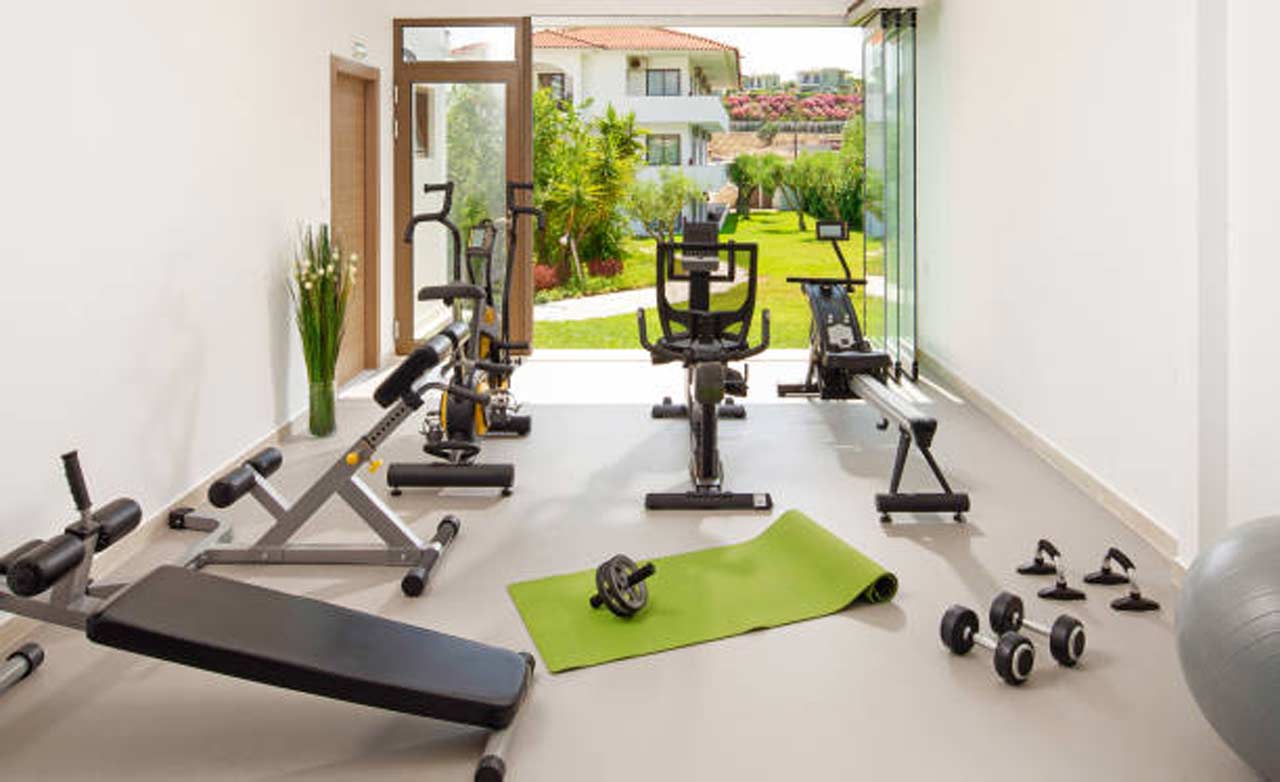
Creating a home gym is an enticing notion for many individuals who like exercise or consider it a way of life.
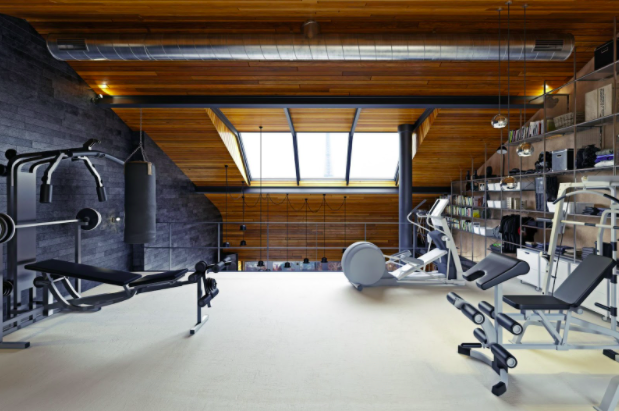
Let that sink in for a moment: You can work out whenever you want, you’re alone, it’s private, and it’s absolutely free after paying for the construction of your personal gym in your home. That’s much more convenient than taking time or money to go to the gym, wait in line for gym equipment, or worry about the way you look. With a gym in your own house, all you have to do is wear your favorite patriotic T-shirt and bottom and go sweat!
Thus, although home gyms are fantastic, finding space to build one in your own home may be difficult. Exercise equipment does take up a lot of space, and if you don’t have additional room, you may have to settle with a kettlebell or a yoga mat.
However, you are not limited to the inside of the home. If you have unused backyard space, it offers a new realm of possibilities. One of the greatest options is purchasing or constructing an outside shed and transforming it into a personal gym. Not only is this choice cost-effective, but it also ensures that you have your own distraction-free training room.
Because exercising outside may help alleviate tension and anxiety and improve your mood, you can consider a shed gym as an economical, all-weather, anytime self-improvement alternative.
With that said, there are a few things you should know before converting your shed into a gym. So, stay with us to the conclusion of this article to discover what they are and how you may transform your garden gym into your personal heaven!
Benefits of a Home Shed Gym
The benefits of building a workout gym are numerous, including:
- No monthly gym charges;
- Optimizing your time investment by removing travel;
- Comfortable and always available;
- No crowds or waiting to use equipment;
- No need to stress about how you look;
- It’s germ-free and clean;
- There is more than enough room to personalize to your needs;
- Uninterrupted and private workouts;
- And most importantly – a place for you to get away from your daily routine and recharge your batteries.
DIY Tips
It is conceivable and not too expensive to construct a home gym in a garden shed. If your shed is large, tall, and sturdy, you may convert it into a fantastic workout space. Some considerations must be made to make the gym a comfortable place to work out in, such as the flooring, safety, architecture, and ventilation/heating.
So, let’s continue with the first one:
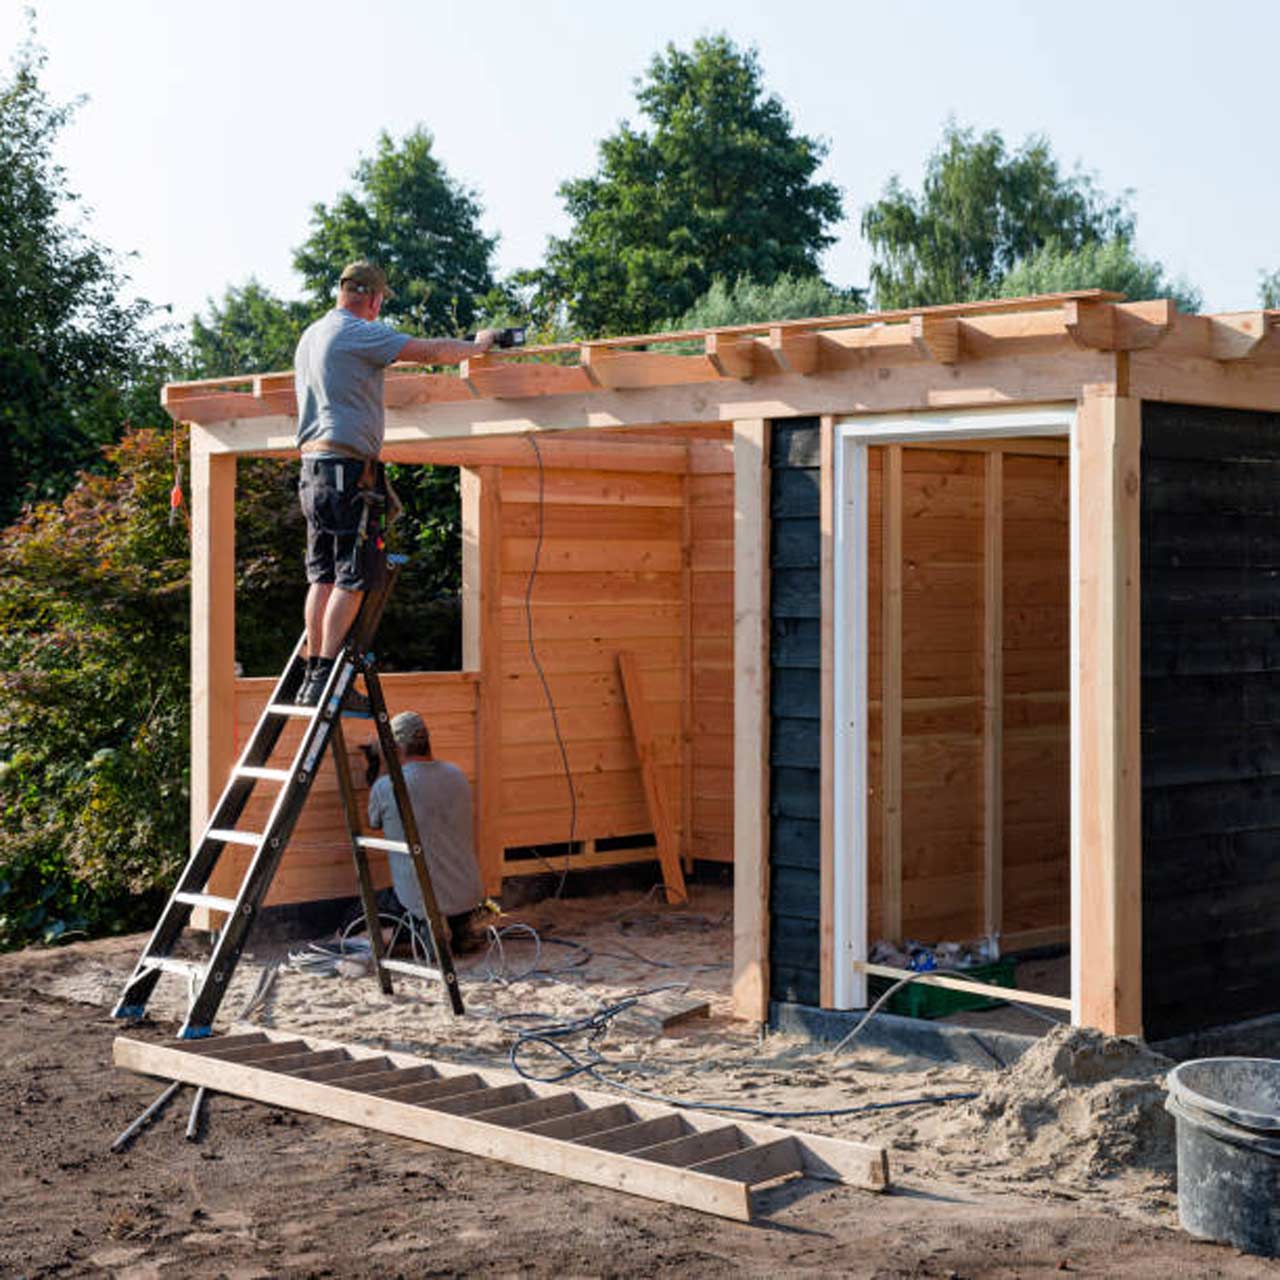
Construct the Shed
The first thing to examine is what kind of shed is suitable for an outdoor garden gym.
If your present shed isn’t cutting it, you’ll need to figure out how to create a garden gym room that’s up to the task. As with any space created with a particular function in mind, several elements must be considered.
What amount of floor area will you require? Will it have to support a lot of weight? Is there enough airflow to keep the garden room air fresh? How do you see the construction’s interior and exterior? What supplies will you require? Is it going to be made of wood? If yes, do you have the necessary equipment for tree cutting, shaping, and polishing, such as diamond grinding wheels?
You should also ensure that the foundation is strong enough to withstand the amount of activity you’ll be undertaking without warping or breaking.
Furthermore, if you intend to purchase any equipment that requires electricity to operate, such as a treadmill, you should have your electrical system installed by an expert.
What is the ideal size for your shed gym?
When estimating the size of your garden gym, bear in mind that you’ll need enough room on all sides and in all directions. In the end, the size of your room should be determined by what you want to perform there. Having a space of 18×10 feet would allow for an exercise bicycle, rowing machine, or cross trainer, as well as some free weights.
This will also be sufficient if you want to practice all of your yoga forms without feeling confined or constrained. Even if you’re going to use a stepping machine or engage in hobbies like skipping where objects might snag on the ceiling, you’ll have plenty of headroom.
Choose the Flooring
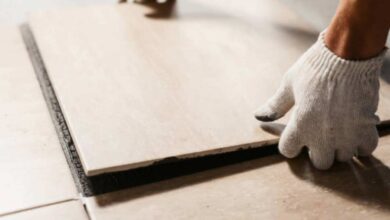
Considering that you want to use the room mainly for physical activity, you should install flooring that is more resistant to wear and tear during exercises.
Free weights won’t damage or mark the floor thanks to the excellent impact resistance of rubber, which may be used for this purpose. Rubber floor tiles are an ideal choice since they’re easy to walk on and won’t cause you to hurt yourself.
You may also use foam for pilates or yoga since it provides greater cushioning. It’s up to you what kind of exercises you’ll be performing most often when making this choice.
Still, it’s preferable to invest in quality flooring than to depend on a few right-placed yoga mats.
Provide Insulation and Ventilation
Ventilation and insulation should be your next priority after completing the floor reinforcement.
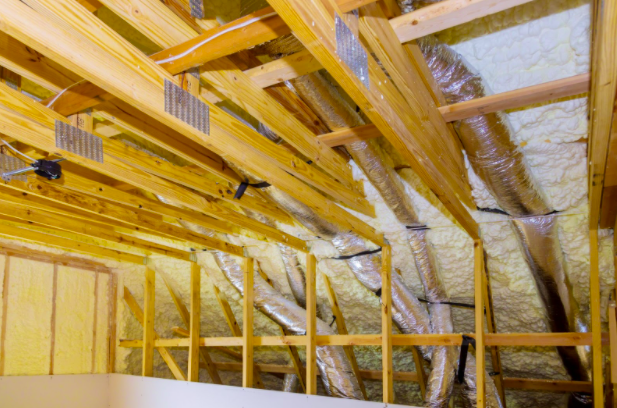
Because exercising in hot weather is thought to place additional stress on your heart and lungs, insulation is a crucial factor to keep in mind. It keeps your shed at a more comfortable temperature year-round, regardless of the weather.
Also, you’ll be less distracted by the sounds of the outside world, thanks to insulation. Your backyard gym shed can be insulated using various methods, from utilizing PIR boards to bubble wrap.
On the other hand, athletic performance is enhanced by appropriate breathing, and ventilation improves the air quality in the gym.
Installing operable windows, wall vents, and even an electric fan may all help with ventilation.
Add Shelves, Racks and Storage Cabinets
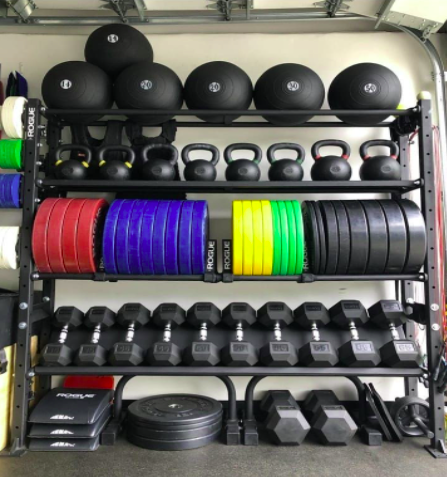
Installing shelves, racks, and cabinets for items like weights, drink bottles, workout gear, towels, and skipping ropes may help keep your home gym shed neat.
As a result, there will be more room on the floor to work with. This is particularly true if you’re trying to squeeze in a tiny home gym out of necessity due to a lack of available space. You may search online for new or secondhand purpose-built storage containers to get what you need.
For a more realistic appearance and feel in your garden gym, consider using upcycled metal lockers or repurposed bookcases and cabinets from around the home.
You may also install a whiteboard to lay up training programs or write down motivational notes when you need to find inspiration and strength for a few more repetitions.
Plan the Equipment and Placement
As soon as you’ve figured out your shed gym to appearance, you can start picking out the equipment you’ll need to get started.
It’s common for home gyms to include training equipment that is tiny or lightweight, making them simple to move about or compress to fit into small corners.
We recommend planning ahead of time for the addition of heavyweight equipment, such as benches or squat racks, so that it may be used safely and additional padding can be placed around vulnerable regions.
Are You Ready to Convert Your Shed Into a Gym?
You don’t have to do everything all at once with home gyms, which is excellent. It’s possible to put the pieces together in stages, one at a time.
Moreover, home gyms are more convenient than regular gym memberships since they are located right in your house, making it simpler for you to incorporate exercises into your schedule.
Home exercises may be as effective as those done in a gym, if not more so. So with the above tips, your backyard gym is on its way to becoming the best it can be!
