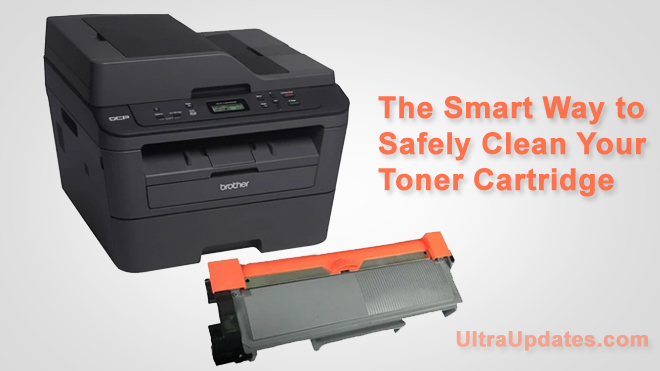
Laser toners are very sensitive to dust, debris, and other forms of dirt, and their accumulation can affect the quality of prints. Therefore, it is important to clean the cartridge after sometime carefully. In this post, we will tell you the smart way to clean your toner cartridge so that you can enjoy high-quality print all the time.
Note that laser printers are very sensitive and you should be very careful, especially with drum, corona wires, and golden contacts. Indeed, if you do not feel confident about the process, the best thing to do is seek professional assistance.
The process of cleaning your toner cartridge can be divided into two: The laser cleaning cycle with the software, and the manual cleaning.
Laser Printer Cleaning Cycle
This method is recommended for cleaning your printer to correct minor issues. To clean your toner cartridge using the software method, the first step is ensuring that the printer utility drive is installed in your computer or laptop. If you do not have the software, visit your printer manufacturer’s site, download the driver, and install it on your computer.
After installing the printer utilities, simply check the Laser Printer Cleaning Cycle on the toolbar. This cycle will give you the steps to follow in cleaning the cartridge and printer head. Although this process will consume some toner, the results will be worth the effort.
Once you are through with cleaning, restart the computer and the printer. If the problem was minor, the printer should start making clean and lovely printouts, but if the issues persist, you should use the manual cleaning.
The Manual Method
This method is more elaborate and highly effective, but you must ensure to do it right.
See Also: CUBE 3D Home Printer
Cleaning supplies
- Gloves: These are used to help protect your hands from the fine toner powder because it can easily cause skin irritation and allergic reactions.
- Toner Vacuum: This is a specialized device for cleaning toner cartridges. Note that it is different from the standard vacuum cleaner. The standard vacuum is so strong and you should not use it here to avoid damaging the toner cartridge.
- Activated Toner Cloth: This is a specially designed and disposable cloth that is used for cleaning the toner cartridge. It is recommended because it does not alter the charges in the toner cartridge or parts.
- Isopropyl Alcohol: Isopropyl is a highly volatile alcohol that you can use to remove stubborn dirt from dirt on sensitive surfaces. It is recommended for cleaning CDs and DVDs and also works well for toner printer cartridges.
- Mask: The mask is a crucial protection item that helps to protect the toner from getting into the eyes or nose.
- Paint Brush and Cotton Swabs: The paintbrush is used to remove dirt from corners and edges. A toothbrush can also work.
- Apron: To prevent the toner from getting into your clothes of body, an apron will come in handy.
Steps to Follow to Clean Toner Cartridge Manually
To clean your laser toner cartridge well, start by gathering all items that we have described above, and then follow these nine steps:
- Start by reading through the printer manual to understand the different parts and how to handle them.
- Turn off the printer, about half an hour before starting the cleaning process. This will allow the different components to cool off to reduce the risk of burning your hands off.
- Wear the protective gear starting with the apron to protect your clothes and gloves to block toner from getting to the hands. It will also help you to get a better grip. Put on the gloves, mask, and an apron to protect your clothes. Then, carefully remove the cartridge from the laser printer following the instructions of the manual.
- Separate all the components of the cartridge, including the drum unit and toner bottle. Note that the drum should be kept in the dark to avoid interfering with the system’s charges.
- After all the components are disassembled, start cleaning them commencing with the toner cartridge. Using an activated cloth, wipe the toner cartridge carefully and put it aside.
- Using the toner vacuum cleaner, get rid of all spills around the toner cartridge and printer. According to ca, the vacuum should not get into contact with the sensitive internal parts, such as the contacts.
- After vacuuming all the debris, turn to the paintbrush to remove dirt and debris that might have accumulated in crevices. If the paintbrush cannot reach some sections, consider using a toothbrush.
- Because the cartridge and the printer are already open, this will be a great chance to clean the paper feed roller. Make sure to clear the ink that had accumulated on the printer roller because they are known to cause poor quality prints.
- Once everything is cleaned well, reassemble the parts carefully and restore them back into the printer. Plug it into the mains and print a few copies to confirm that it is now working as you anticipated. You have done it!
Keep Your Printer and Toner Cartridge in Top Condition after Cleaning
Once you are through with cleaning, it is important to protect the printer and cartridge from gathering more dirt. You can do this by ensuring that your printer has the latest updates from the manufacturer. You can even set then printer to automatically clean the cartridge after a specific period, say, every three weeks.
Furthermore, you should ensure that the printer is placed in a good place, especially in an area with no dust. If you work in an area that is dusty, consider covering the printer with a cotton cloth to block dirt and other particulates from getting into the toner cartridge. A clean printer implies that you will need to do less cleaning.
If your toner cartridge is dirty, the quality of the print you can get will be poor. Make sure to carefully follow the above process to clear dirt, spilled toner, and debris that can compromise your pint quality. Remember to also keep the printer securely and away from dust after cleaning it.


